Related Posts Plugin for WordPress, Blogger...

1.29.2011

Glam Bam Thank You Ma'am

Well isn't this fancy.  My question is, where does it begin, and where does it end?  Actually, I'm quite taken with this over-the-top bathroom, featured in the DCOTA 2011 Design House.  It certainly meets all of the criteria for a glamorous space, although I'm not sure how glamorous I would feel stepping into the shower and seeing endless versions of myself in this "infinity room" :) 

Source
 
Kelly Wearstler

This one, designed by the Queen of Hollywood glamour herself shows no shortage of reflective surfaces.  Probably not my favorite way to catch a glimpse (or ten) of myself first thing in the morning, but it is an interesting space.


Something about this space makes me think of an 80's wall of mirrors that were maintained to be part of a "rustic-glamour" styled space.  I think it works though, and this master ensuite definitely has some charm and intrigue.


This one is more my style--such a statement-maker, and the perfect way to expand the size of a space without creating an infinity room.  I'd love to try this someday, but I'd be nervous about all of the precision (and luck) that would have to happen to make it come together.

Hope you're set for a glamorous and adventure-filled weekend.  Have a good one!

1.26.2011

The Right Colors for Your Kitchen Cabinets & My Favorite Whites

After getting feedback from commenters and co-workers on my black kitchen post, I'm realizing that it is indeed a beauty, and I need to work on embracing this trend (if it is becoming one).  To continue the conversation about non-white kitchens, and call attention to some great white (and black, for that matter) alternates, I invite you to check out the February issue of House Beautiful magazine.  I was excited to see their two page spread of fresh and current alternates to white--great as accents, or if you're brave, all-over kitchen cabinet color.  Thanks to the experts who made these selections.


Paint colors, in order from left to right, top to bottom:  South Beach 20433-50 [Benjamin Moore], 
Jute AF-80 [Benjamin Moore], Midsummer Night 2134-20 [Benjamin Moore], Cucumber Salad 562 [Benjamin Moore], Bewitching Blue SW6960 [Sherwin Williams], Teresa's Green 236 [Farrow&Ball].


Paint colors, in order from left to right, top to bottom:  Riviera Azure 822 [Benjamin Moore], Light Khaki 2148-40 [Benjamin Moore], Mercury CPP1 18 [Christopher Peacock Paints], Mysterious AF-565 [Benjamin Moore], Van Courtland Blue HC-145 [Benjamin Moore], Deep Aubergine 100F-7 [Behr]

I'll definitely be keeping this issue close at hand to reference some tried and true and expertly selected colors.  In fact, some of the cabinet colors and finishes we've experimented with in our design studio are spot on with some of these "trends".

 Smokey Gray

BM Van Courtland Blue

Similar to BM Blue Note 2129-30

Glazed Cream

Finally, check back for an update on an exciting client project that I started working on this week.  The design for their new kitchen is turning out beautifully, but more than that, they've selected a gorgeous and unique color palette that has given me great inspiration. 

And for those of you still on the hunt for that perfect white, here are my favorites for kitchen cabinetry:

Oxford White - CC-30 - Very pure and crisp, but not stark or chalky
White Dove - OC-17 - The perfect soft and creamy, comfortable white--you can't go wrong here
Dune White - CC-70 - More toward the gray end of the spectrum; a little "dirtier", but in a good way
Silver Satin - OC-26 - Not as white; silver with the slightest hint of gray-green--soothing and classic 

1.24.2011

Do You Like This Kitchen?

I'm a big fan of Lynda Reeve's design sense, and have followed her with Canadian House & Home Magazine for years.  She has a signature style, and a unique way of mixing disparate elements and making them look polished and pulled together.  One of my favorite homes (and kitchens) of all time is the 2008 Princess Margaret Show House that the House & Home team designed.  That said, I'm just not feelin' this black kitchen, featured in the December issue of the magazine.


One reader RSVP'd to the magazine and described the kitchen as dark and "soulless".  Mr. CottageModern disagrees, and says that the moody and masculine feeling is appealing and unique.  I love a good dose of black, and think that every room can benefit from a few shots of it here or there, but this seems overwhelming.  Am I missing out on a huge trend and overlooking the 'next best thing' in kitchen color schemes?


What do you think?  If the above image hasn't left you out in the cold, click here to see images of the rest of this house--despite the darkness of this "heart of the home", the other rooms are light, bright, and stunningly beautiful!

1.20.2011

Beyond Traditional Materials: 5 Other Cabinet Options Besides Wood

There are other options for cabinetry.  Just thought I'd throw that out there.  Typically in our North American culture, our approach to kitchen cabinetry design is wood-dominated, and other contenders don't even make it to the table.  Even though this is the norm, however, it got me thinking of all of the other innovative and beautiful materials that are used to make cabinetry.  I'm not saying that these are affordable options, but they are options nonetheless :)

Stainless Steel - This cool, industrial material has been favored for appliances for years now.  While putting it on your cabinetry is a different process, when properly done can achieve beautiful results.  This kitchen island, designed by Kelly Wearstler, sits within a more traditional setting, and the mix of elements works perfectly.  The two images following show the more industrial side of stainless steel, but with added wood tones and a splash of other interesting textures, the space still looks warm and inviting.  Watch out for little hands with tiny fingerprints.....this material demands extra maintenance--especially when used on vertical surfaces.

Kelly Wearstler

Trends Ideas


Corian - This one is a little trickier for me because I have no experience with how its done or what the exact process is.  Regardless, I've been fascinated with this kitchen by designer Elaine Cecconi for years now.  I watched an interview with her where she reviewed her design process, materials, unconventional applications, etc., and continue to be awed by how clean and simple, yet detailed and ingenious this kitchen is.  The doors, drawer fronts, appliance panels, countertop, and slat wall system are all manufactured from Corian, which is a solid surface resin material most commonly used for countertops.  The kitchen beautifully re-imagines this material, which has become quite "tired" due to overuse as countertop surfacing in the 90's/early 2000's.


 Parapan - Another innovative solid surface product used to manufacture cabinetry.  Unlike Corian which has a silky, matte finish, this acrylic-based material has a luscious high-gloss shine.  It also comes in an arresting array of rich colors, as seen in the photos below.


 Glass - Glass inserts come in a variety of textures and finishes.  Obviously, glass front cabinet doors are not uncommon, but when I talk about "alternate" glass options, I'm referring to the sleeker, aluminum framed glass doors.  Typically this application offers a more modern look, but when mixed with woods and other warm finishes, can have a really nice transitional feel.


In this kitchen, they've taken it a step further and added back lighting to all of the glass panels.  I'll bet this looks stunning at night!


This kitchen has an eclecticism that shows off the "warmer" side of glass.  My favorite part is probably those cute little Kartell chairs as island seating. 

Blackened Steel - This kitchen is a feast for the eyes.  Everything about it is innovative, from the floor plan, to the mix of materials, to the integration of complicated elements.  Despite all of this, the space is so nature-inspired and serene.  Its obvious that every detail was meticulously thought through, and impeccably finished.  See more images by talented designer Gioi Tran here.


The fridge panels and oven cabinet surround show this blackened steel finish.  It almost reads as a dark wood tone, but gives great textural effect.

So there you have it--an array of interesting options for cabinetry.  Even if an entire kitchen done in one of these single finishes might be overkill, integrating an interesting material alongside our traditional woods could not only add that 'wow' factor, but also fall within a reasonable budget range.  Maybe :)

1.17.2011

Wishlist of the Week: Drapes in Bathrooms

I didn't spend much time watching the Golden Globes last night, but the flowing full length gowns that I did see have me wishing for a touch of glamour in my surroundings.  Lately, I've seen so many images of full length curtains in bathrooms, and I think its the perfect way to "dress" your walls with a touch of fancy.  Although I think it could be a dust/lint nightmare, if I had the right room for it, I'd do it in a heartbeat!  What I love is how un-bathroomy this treatment is--an unexpected layer of pretty that really elevates the look of the space and adds a serious dose of glamour and luxury.

Sara Richardson


Full length drapes are really the perfect backdrop to a stunning bathtub.  A warm soak in a sculptural tub + sunlight filtering through layers of pretty fabric = a perfect relaxation experience, don't you think?


Head over to Southern Exposure for more photos of this lovely retreat.  This girl has serious style in the rest of her home too--the other images of this space won't disappoint!

 Metropolitan Home

 Sarah Richardson

Sara Richardson


Caldwell Flake Interior Design

Decorpad

I love how these drapes are recessed into a ceiling channel to make the height of that wall look endless.

Now that I've been dreaming about drapes, I'm sure I'll start to notice even more full length curtains in bathroom spaces everywhere.  Seems like a great way to add some unexpected glamour to a space that doesn't always get a lot of "star treatment".  A lot less expensive than a designer gown, I'd say!

1.14.2011

Kitchen Products and Sources: Where I Saved & Splurged

I'm so grateful for all of the positive feedback on my kitchen renovation!  You know who you are, so thank you!  One reader asked for a list of products I used, and although none of the materials and finishes are out-of-this-world, I'd love to share what made this kitchen come together.

Where I Saved:

Appliances - its so hard to pinpoint a budget for appliances because there is such a vast range of options available.  I knew I wanted stainless steel, but I certainly didn't have the budget for "professional style" models.  Enter ApplianceSmart.  This is a great place to find rock-bottom deals on quality appliances, but the key is to check often because the selection is constantly changing due to factory close-outs, last year's models, etc.  They also carry brand new, but I scored big because I bought previous year's models on all of my appliances.  The gas range is a Jenn-Air, similar to this one and the fridge is an Electrolux Icon.  I'm not going to talk too much about specific prices in this post, but I will divulge this one little steal--that fridge is a pro-style appliance, originally priced at $3000.  We got it for $900 as a floor model that they were getting rid of!  I felt like I won the lottery that day.  All in all, it took us about 6 months to "hunt" for these deals and get what we wanted, but it was completely worth it.


Floor Plan/Layout - I worked hard to make the new space functional and open, but knew I wanted to maintain all of the existing plumbing and appliance locations in order to save on labor costs.  By keeping the gas lines, plumbing and ventilation in the same spots, we saved significantly over what it would have cost to move everything and start from scratch.  Also, when we took down the wall between the dining room and kitchen, we discovered a large plumbing stack running to the second floor.  Instead of moving it, we enclosed it, and the resulting "wall" looks planned (in the photo below), and like it was part of the design from the beginning.


Backsplash Tile - this was a bit of a last-minute splurge for me, but still a major save.  I'd orginally planned on doing simple white ceramic subway tiles with a dark gray grout, but after the countertops went in, I thought everything was looking too static and needed some visual texture.  These 2 x 8 Carrara marble tiles were the perfect choice, and at under $10/square foot, they didn't break the bank.  The impact is just what I was after.


 Lighting - I waffled over lighting choices for so long--I needed some pendants that were smaller in scale, but I still wanted something cool.  The ones I chose are "just fine", but I consider them stand-ins until I find what I'm really after.  They're from Home Depot ($45 each), and will suit the space until I pull the trigger and get something nicer......like this little favorite from Quoizel:


Moveable Island - One of my favorite finds.  I was frustrated at the cost of having one custom built, so I started searching IKEA for some "small space solutions", and couldn't have found a better piece.  To make it look a bit more unique, I found a small Venatino Marble remnant at a countertop fabricator, and had it cut to size for this piece.
TIP:  Many stone fabricators have remnant yards with various sized pieces available at a fraction of the slab price.  You can often find exotic and unique stones, and if you have a small area to cover, it can be worth it to look through remnant selections--you never know what you'll find!


Fixtures and Hardware - I found great deals online for plumbing fixtures, and chose this pull out spray faucet by Delta in polished chrome:


I chose cabinet hardware in a polished nickel finish, and love the look and feel of these pieces from Amerock's Highland Ridge collection:


 Okay, now for Where I Splurged:

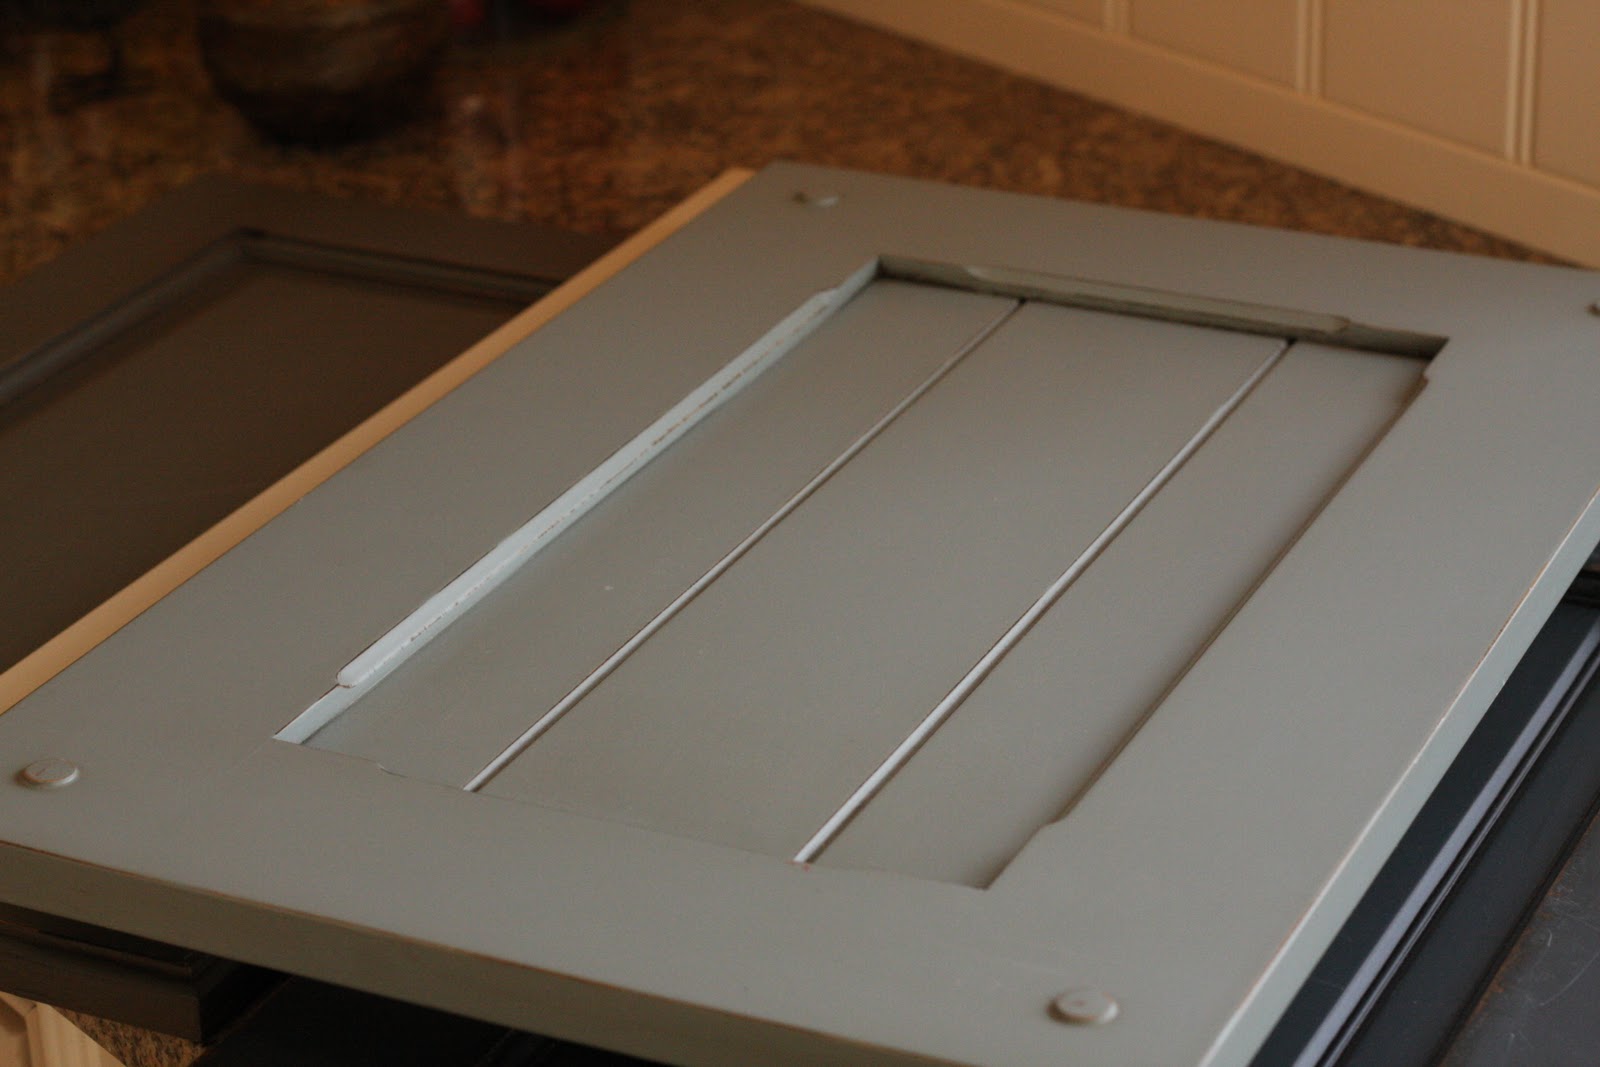
Custom cabinetry - I'm calling this a splurge because its "custom built" to exactly fit my kitchen, however, the cabinet costs were actually very reasonable.  Custom cabinetry can range in price greatly from shop to shop, and the bells, whistles, and extra features are what often drive costs.  I wanted a unique door style with a shallow panel profile and wide stiles and rails, and I got what I wanted through a custom cabinet maker.  I also wanted some specific details, like the pilasters that come down to the floor, which were also a custom touch.  The real splurge here is the white painted finish--as a general rule, painted cabinetry is usually going to come in at a higher price point than a stained wood (unless its an exotic wood, which in that case, the sky is the limit).  The color I used is also a custom match, but is very close to Benjamin Moore's Oxford White.

Granite countertops - Mr.CottageModern and I had some debate over what should be done here.  With my love of white Carrara, of course I wanted that surface to be everywhere.  We'd had it in our previous home in the new bathroom, and I can't get enough of this beautiful material.  However, he was the one who dutifully cleaned that bathroom (for which I'm very grateful), and hated the maintenance.  I don't necessarily agree with him there (see this post for my thoughts on marble), but I knew that compromise would be the best option.  We went with Absolute Black granite, and had the surface honed to give it a matte look.  I was warned that this would be a greasy fingerprint nightmare, but I haven't had any issues at all.  I actually find that the reduced shine camouflages a ton of stuff, which is great when we "forget" to wipe up at the end of the day.  I'm happy with silky smooth nature of these tops, and think they are a great contrast to my collection of many white things :)


So those are the saves and splurges.  Here are a few miscellaneous other colors and finishes:

Walls - Pale Silver by Restoration Hardware
Trim - Dune White by Benjamin Moore
Floors - Again, a custom mix based on trying to achieve a dark brown without any red or muddy undertones.  We were fortunate to have hardwood in the rest of the house, so we added it in the kitchen, and then sanded and refinished everything to match.  I'm not sure of the exact ratio, but this mix is a chestnut brown-type color with a dash of black added to deepen the tone.  We also water-popped the floors to open up the grain for maximum stain absorbtion.

Oh, and one more thing.....the little "doll" in the last kitchen makeover photo came from these two people (my handsome brother and gorgeous sister-in-law who is pregnant with my niece in this photo)......its no wonder she's such a beauty :)


Hope this helps answer some questions.....have a great weekend everyone!

1.12.2011

My New Kitchen: A Favorite 2010 Project Revealed!

Since this is my official week back at work from "Christmas vacation" it sort of feels like New Year's just happened, and its the beginning of the year for me.  I'm looking forward to a productive and rewarding 2011, and hoping that I can stick to some of my resolutions.  I'm the kind of girl with an ongoing "to do" list and I love projects.  However, I also get overambitious and have a tendency to keep adding new things without first completing the old ones.  I'm resolving this year to be a little more strict with myself, and not let my creative mind wander all over the place before finishing the tasks at hand.  That said, I'm looking back to my favorite completed project of 2010, hoping to be inspired by the work that was done, and motivated to keep going and make my little "cottage" feel more and more like home.  Hope you enjoy the transformation!


Even though this kitchen was tired and in desperate need of modernization, it had such nostalgia and charm.  The family who lived here for 40 years previous to us buying the home had been great hosts, and welcomed countless guests into their home.  I know this little kitchen worked very hard to produce wonderful meals and create meaningful fellowship among friends and family.  Needless to say, I was glad to get rid of the golden oak cabinets, wallpaper, laminate flooring, and quirky layout!


Here are a couple of drawings I did to conceptualize the space.  These are the ones I settled on as the final design, but I did multiple layouts and design plans during the initial stages.  I usually do this with client projects as well--there are often many ways to achieve a well-designed layout, and the hybrid of a few ideas can form a great final design.


Here it is.....the finished product!  I'm pretty excited about how it all came together, and at how drastically transformed the space was.  The major things we did were removing the wall that separated the dining room from the kitchen, and removing two small kitchen windows in order to add one large one.  This opened the space up tremendously, but still respected the age and existing layout of the home.  Open concept homes have been a trend for a few years now, but I'm noticing that trends are moving toward floor plans that are more compartmentalized.  This house needed to maintain some separation, and opening up just one wall keeps things proportionate while still adding an airy feel.


It wasn't hard to decide on the cabinet color, given my love of white kitchens.  I opted for a door style that is a little more contemporary, adding pilasters that come to the floor to give the base cabinets a more unique look.  The overall feel is kind of "bistro-modern", using classic elements like honed granite, marble and polished nickel, and mixing them with contemporary lines and cool stainless steel.  That little island is an IKEA find, and is just the right size.  My kitchen didn't have the width for a traditional island with seating, but still needed something for additional work space and storage.  I bought this one, and had a marble remnant cut to fit the top to make it look a little more customized.


And finally, here's the kitchen "in use" by my precious little niece.  That little sink was the perfect size for her "bathtub".........I love her to pieces, and think it doesn't get much cuter than this!

Thanks for checking out my new space.  Cheers to a great start to 2011, and may it hold lots of new design adventures and completed projects!