CORNER DETAILS & STONE COUNTERTOPS
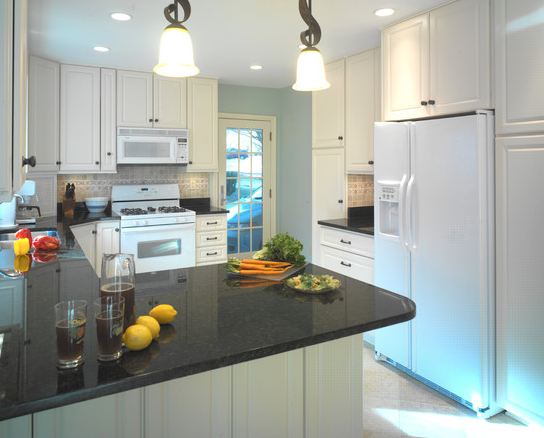
When it comes to countertops, there are a ton of options for thickness, edge profiles, etc. If you're doing stone, the most budget-friendly thickness is a 3cm (approx 1 1/4"), and while you generally know to select an edge profile (eased, ogee, bullnose, etc.), its the corners that I find often get overlooked. I found out a few years ago from a fabricator I was working with that if the client/designer/homeowner didn't specifically ask for a certain corner profile, they automatically defaulted to a radius like this one (on the corners of the island):
Or even more rounded, like this one:
I would be sick if I ended up with something this pronounced without knowing about it, and I should clarify by saying that most stone fabricators don't take the risk and do want you to specify what type of corner roundness you want. When in doubt though, I always ask, and my preference is to go with nice crisp corners like these:
FRAMELESS CABINETS WITH APPLIED END PANELS
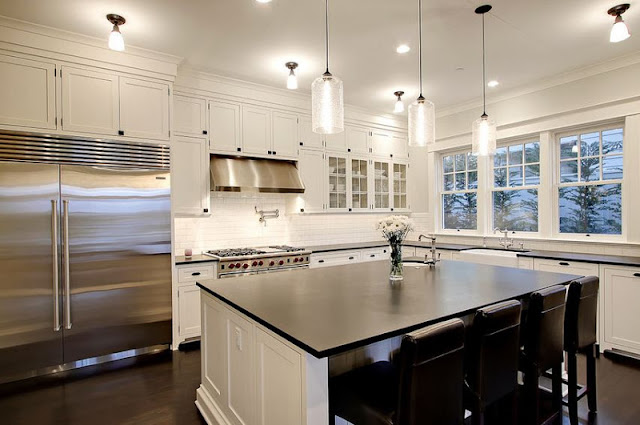
When it comes to cabinetry, the sky is the limit when it comes to detailing and design. There are different types of cabinet construction--face frame, frameless, inset--and particular sets of details that apply to each one. Frameless cabinetry offers a clean look, and can lend itself to many different aesthetics, from contemporary to transitional. An often-overlooked detail to keep in mind with frameless cabinetry is how the ends of each cabinet run will be finished off. While an exposed cabinet end will always be finished, adding an end panel incorporates an elevated level of detail. An excellent example of what I'm talking about:
You can see the end panels, which are flush with the cabinet doors, to the left of the cooktop, as well as on either side of the window. This element is also repeated on the hood surround. As I mentioned, the ends of the cabinets could have just been stained to match the rest of the cabinetry, but the applied panel detail is an expert touch.
Here's another great illustration--you can see it clearly since the end panels contrast with the rest of the cabinets:
A great up-close example of how applied end panels--even if they are plain--add that nice finishing touch.
Conversely, here is a kitchen (my own) where end panels have not been added. I did them on the base cabinets as a detail that would sit slightly proud of the doors, but didn't repeat this on the uppers--you can see it on the wall cabinets flanking the hood. I'll admit that this was a rookie mistake, and while I don't hate the look, if I did it over I would definitely add them in.
CORNER CABINET SOLUTIONS
We've all seen these:
Not a terrible use of space, but having that hinged door flapping around against adjacent cabinets would drive me nuts. Plus, these types of lazy susan units require a set of full height doors in the corner, which interrupts the line that a nice row of top drawers creates. Isn't this much better:
Definitely a more "designerly" look, and I can't say enough about the improved space and function. Corner drawers take advantage of the diagonal depth in that space, and are built much deeper than standard depth drawers. Plus, they just have a more custom "fitted" appearance than a typical lazy susan cabinet. I try and use these in my designs whenever there's an awkward corner to deal with, but its funny that people are so used to 50+ years of lazy susans that some are resistant to the benefits of a new thing.
That's what I've got for now. Nothing earth-shattering, or even really new. This detail stuff has all been out there for years, but easy to miss if you're not looking in the right places. And its helpful to look, because in many cases it is these details that can really make a difference. Happy kitchen planning!


No comments:
Post a Comment