Ages ago, I gave a sneak peek of the baby's new room, and then last time I posted, I said that I'd share photos of the completed space within a week. I thought I was giving myself enough time, given that taking care of a newborn takes up ALL of my time these days. Here I am though, almost two weeks later just getting the photos up....such is life with the baby, as sweet and wonderful as he is :)
Before I share the "after" shots, I should show you what the space looked like when we moved in:
And again, over a year later when we still hadn't gotten around to making it a pretty room. Please don't judge the mess:
Other than refinishing the floors and hanging some window shades, we hadn't even painted the walls in this room. I'm sympathetic toward our poor guests who had to stay in this less-than-pretty space time after time (although I promise the bed looked more inviting than it does in this picture). So this was our starting point, and after a few weekends of tackling a board and batten wall treatment, months of shopping for baby furniture and accessories, and creating some personalized statement pieces, this is how the room turned out:
I would say it is quite a transformation, and is definitely the bright, fresh space we were going for! I wanted it to have a classic feel, with a bit of whimsy and an interesting color palate that I could build on. I chose aqua and orange, and ended up with a nice mix of blues that compliment each other as well as contrast with the bright hits of orange in the space. Obviously, white is a huge component in the room as well, with a large circular shag rug providing softness and texture, and a white micro-velvet rocker/glider giving me the perfect place to spend (a lot!) of time.
I like this crib for its clean-lined, modern feel. It has a nice drawer for storage as well. The map letters I made sit perfectly above the board and batten, and tie in all of the shades of blue in the room.
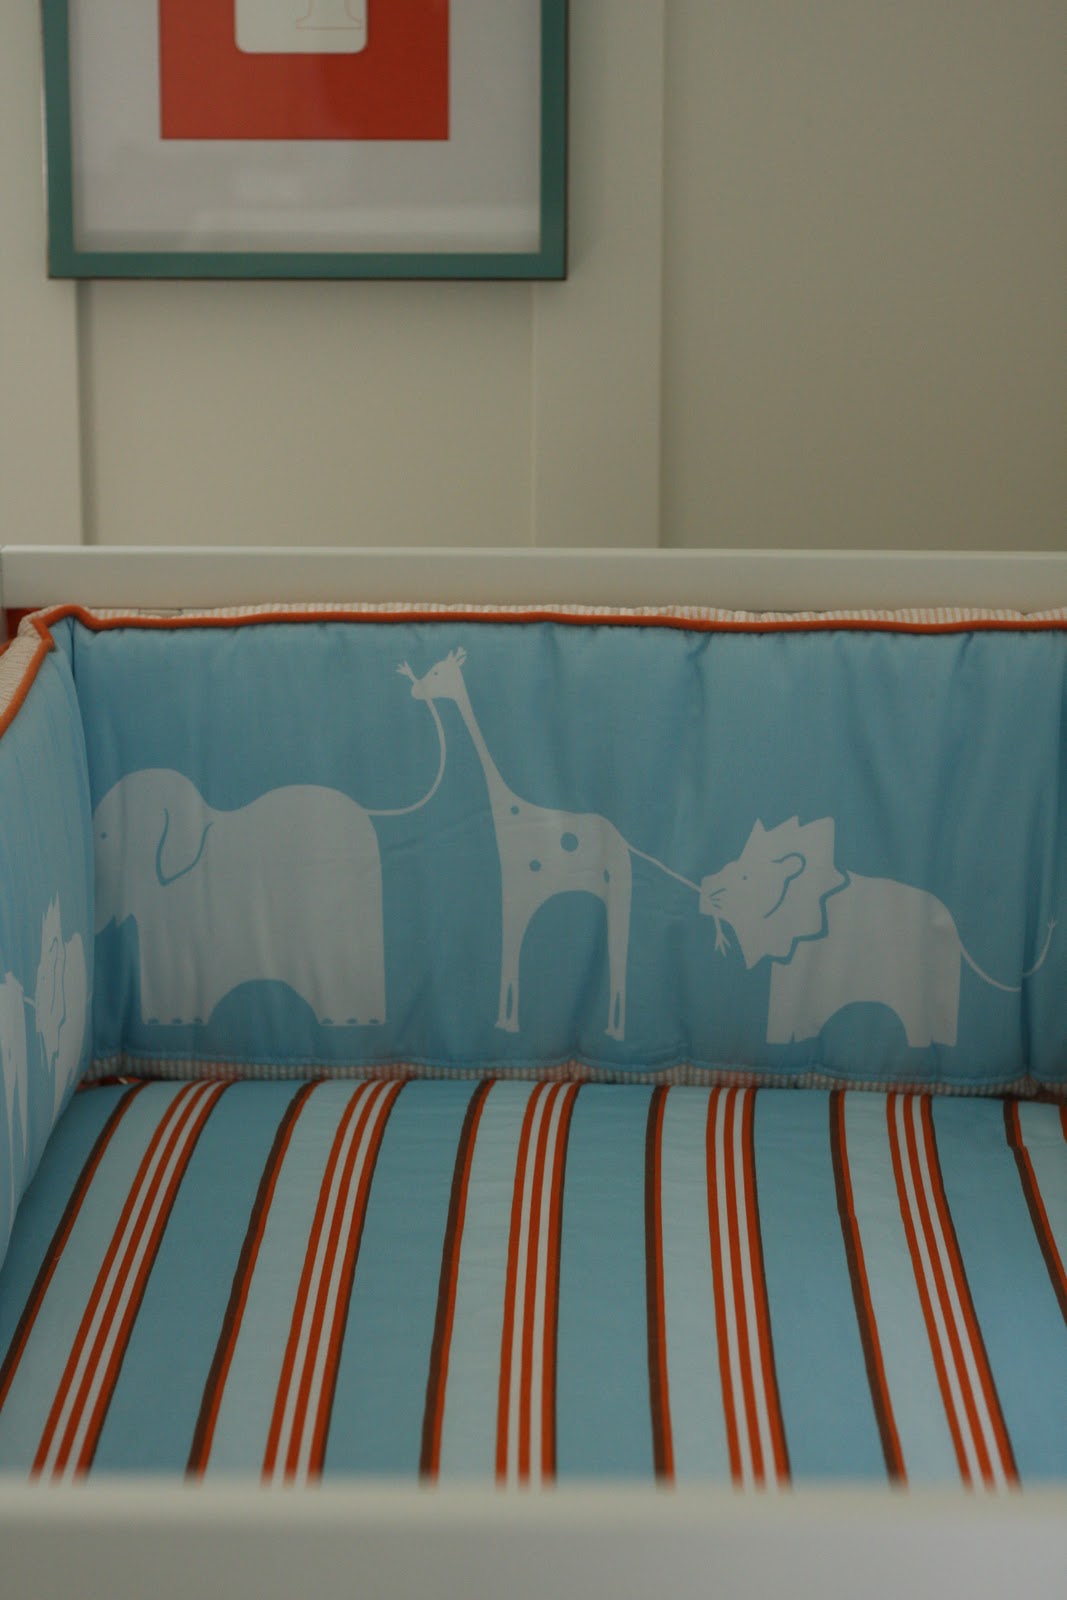
The bedding collection is "Ben" from Serena & Lily, and I have to mention that I purchased the entire set for 70% off when they had a sale this summer. It was so exciting to get that kind of a deal! The art piece at the end of the crib is a letter-pressed "T" I found, and framed in a turquoise frame that I had previously been using in another room. I added an orange background to make it pop and tie in with the room.
Much of my time these days is spent in this very comfy rocker-glider. I brought in this Eileen Gray table from my living room for a touch of modern glam. This is for me, because let's be honest, I care way more about how this room looks than the baby does right now! I love the pattern on the ottoman pouf, and it's the perfect height and softness as a foot rest for me. Plus, it will function well as Tate grows and wants things to pull himself up on. I purchased it from this Etsy shop, and would highly recommend browsing the collection if you're looking for a great selection of patterns and a well made, quality piece.
This mahogany bow-front dresser was given to us by my parents-in-law, and its been in several rooms before this one. I was going to paint it, but just couldn't cover up the rich wood that I liked so much. Turns out it looks great here and is a nice juxtaposition with some of the more modern elements. The "art" above the dresser is simple framed letter-press greeting cards that are the right color tones for the room. I wrapped a couple of the frames in a natural linen to make the images stand out. Also, I kind of have a thing for lamps, and managed to squeak two fantastic ones into this room. This one, with the great burlap shade, and the one by my rocker (with the pretty fabric patterned shade) are both from HomeGoods.
The completed drapery panels turned out well. My mom came to the rescue and finished sewing them after the baby was born and I was in no shape to complete the project. I started them here, and it was her idea to add a narrow piece of orange grosgrain ribbon. The panels are mostly decorative, but I love the pattern on this fabric and how it ties in with the other elements.
These built ins were original to the house, and are perfect in this room in so many ways. The countertop is the right height for a changing table, and there's lots of surface area for diapers, supplies and essentials to be within easy reach. Lots of open shelving is great for storage and display, and I painted the backs of the shelves a soft aqua to offset the brightly colored accessories. With drawers and more storage below, this unit can evolve as Tate grows, providing space for all of his "stuff", and hopefully giving him some incentive to keep things neat and organized.......yeah, right :)
So here it is again, our little nursery project. It truly is one of the nicest rooms in the house now, and I love spending time in here with my little guy:
Showing posts with label Nursery. Show all posts
12.12.2011
11.28.2011
Introducing....
Its been ages since I last posted, and for good reason. This past month has brought wonderful life change, and an amazing new adventure. On October 20, 2011, we welcomed our new baby boy into the world. He was more than ready to be born (I was a week late), and he came to us at a healthy 8lbs, 12oz! In this post, I revealed two of the letters of his name, and got some great guesses as to what it would actually be. No one came close to actually guessing it........
Meet Tate. He's such a joy, and we are blessed as new parents to be entrusted with raising this little guy.
I posted here a sneak peek of his nursery. Check back again this week for the reveal of his completed little room!
Meet Tate. He's such a joy, and we are blessed as new parents to be entrusted with raising this little guy.
I posted here a sneak peek of his nursery. Check back again this week for the reveal of his completed little room!
Labels:
Children's Decor,
My house,
Nursery
10.15.2011
Still Workin'
Since the baby's due date came and went and the little guy forgot to show up, I'm trying to find ways to keep my mind off of the fact that I'm still pregnant. The nursery is almost complete, but there are a few finishing touches that I want to try to get done if at all possible. I mentioned in this post that the nursery bedding was initially a disappointment because it was so blue, compared to the aqua/turquoise colors that I was going for. In the end, everything is tying together beautifully, and I wanted to continue bringing together the two shades of blue I'm working with.
For drapes, I would have loved to go with full patterned panels, but I needed to keep this economical and use what I had on hand. I've been hanging on to this aqua geometric for a long time, and I wanted to make it work in this room.
To stay on budget, I bought these inexpensive panels and took the tabs tops out because I plan on using ring clips to hang the side panels.
Since I had limited yardage of the fabric and wanted maximum impact, I decided to sew 12" strips down the outside edge of each panel. There are 2 windows in the room, so there's nice opportunity for some "hits" of this fabric.
Here's some photos of the fabric after I attached it to the panel--very basic sewing skills folks--nothing but straight lines and uncomplicated patterns. I added a grosgrain ribbon to trim out the inside edge and bring in the blue tones found in the bedding.
At the end of it all, to my delight, I had just the right amount of fabric to piece together this pillow cover--complete with some fun orange ball fringe--for the room. I'll have photos of the completed space soon, and hopefully some even more exciting news to share.....:)
For drapes, I would have loved to go with full patterned panels, but I needed to keep this economical and use what I had on hand. I've been hanging on to this aqua geometric for a long time, and I wanted to make it work in this room.
To stay on budget, I bought these inexpensive panels and took the tabs tops out because I plan on using ring clips to hang the side panels.
Since I had limited yardage of the fabric and wanted maximum impact, I decided to sew 12" strips down the outside edge of each panel. There are 2 windows in the room, so there's nice opportunity for some "hits" of this fabric.
Here's some photos of the fabric after I attached it to the panel--very basic sewing skills folks--nothing but straight lines and uncomplicated patterns. I added a grosgrain ribbon to trim out the inside edge and bring in the blue tones found in the bedding.
At the end of it all, to my delight, I had just the right amount of fabric to piece together this pillow cover--complete with some fun orange ball fringe--for the room. I'll have photos of the completed space soon, and hopefully some even more exciting news to share.....:)
Labels:
Children's Decor,
My house,
Nursery,
projects,
Turquoise
10.01.2011
Getting Close......A Nursery Sneak Peak
With only two weeks to go in my pregnancy, I'm getting so anxious and excited to meet our little guy, and the "nesting" stage has completely taken over. The baby's nursery is almost complete, with only a few finishing touches yet to be added. Here's what's been happening over the past couple of months:
Maternity photo shoot. My husband's idea, not mine (I wasn't too excited to capture my larger-than-life state on camera). Fortunately for us, our photographer worked magic, the shots turned out beautifully, and I'm so glad we did this. If you're in the Minneapolis/St. Paul area, check her out here for a beautiful portfolio of work. I'm excited for the newborn photo shoot in just a few weeks!
To cover up an odd square recess in the ceiling, I used this oversized drum shade, embellished it with orange ball fringe and added some cute little whales to the inside--they'll glow through nicely when the light is turned on.
We went to the east coast and spent some time in Maine this summer for a little "babymoon". These lobster buoys are the perfect colors and remind me of our last little trip together as a two-person family!
Love this whimsical, yet elegant whale pillow from West Elm.
You can see the fruits of our labors on all of the walls in the nursery. Mr.CottageModern and I spent a good chunk of weekends this summer adding board and batten paneling to the perimeter of this room. It turned out really nicely for a couple of rookies! The map letters I made tie in well with the different shades of blue in the room.......we've had lots of guesses on the name of this little guy based on those two letters!
I'm really pleased with this bedding from Serena & Lily. I agonized over keeping it because the blue is very "blue". Not aqua/turquoise at all like I was hoping. I was disappointed at first, but its so well made and adorable that I decided to make it work. Its tying in beautifully with all of the other touches, so I'm happy designer again :)
Can't forget Sophie--a staple toy among all babies, so I'm told!
There are some great built-ins in this room that were original to the house. I painted the backs of the open shelving turquoise, and have had fun accessorizing with toys, books, and of course the mini Air Jordans that my husband "had to have" for our little guy. He has a matching adult pair in his size. Pretty cute, I have to admit :)
So that's the nursery tour for now. I'll post some more shots in the next few weeks.....maybe after the name is revealed! This weekend's task list involves creating some drapes for the windows, so hopefully this very pregnant lady can muster the energy!
Labels:
Children's Decor,
My house,
Nursery,
Turquoise
9.07.2011
An Original Take on an Unoriginal Idea
I've officially entered the "nesting" stage of my pregnancy. Actually, with all that's been going on around our house I feel like I've been nesting for months, but now things are in high gear. My latest project has been creating letters to spell out our son's name somewhere in the room. Everyone does this, and although I'm not sure what the reason is (the baby can't read), I love the look of bold graphics and lettering, so I wanted to do it too :) I found these letters, and although I liked them, I thought I could do a better job and make them more personal. So an unoriginal but interesting idea was born.
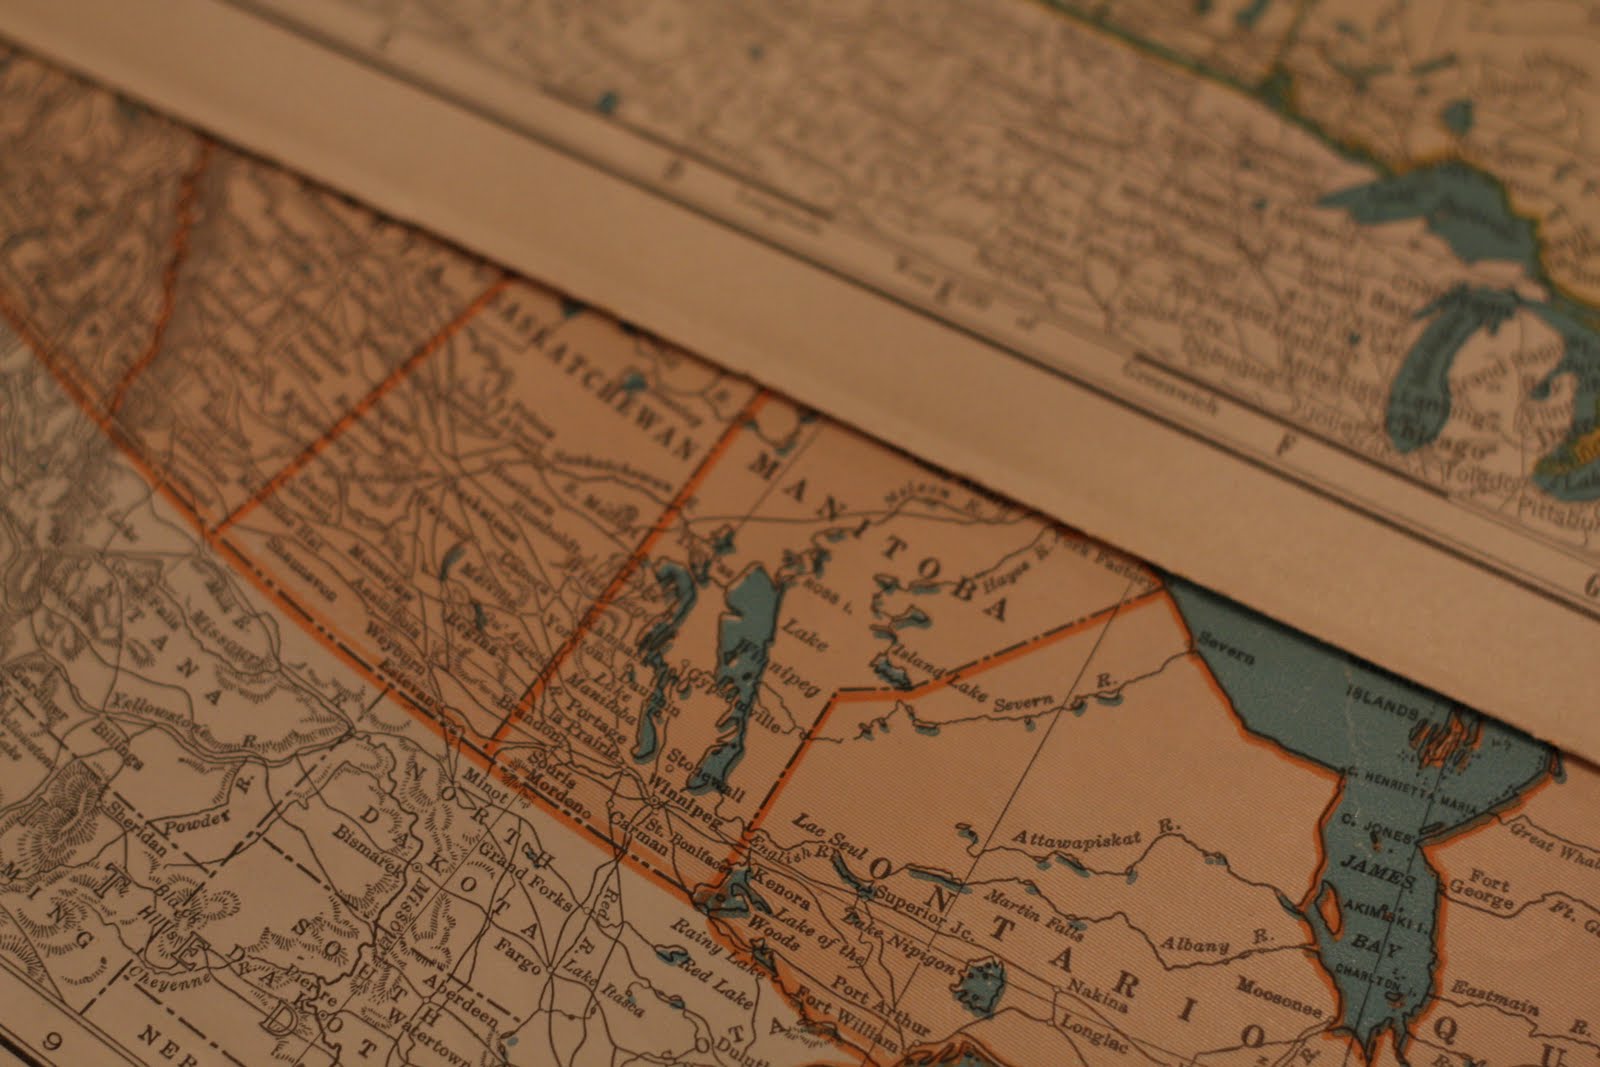
I thought it would be neat to create letters out of maps that show where both myself and Mr.CottageModern are from--me from Canada, and him from Minnesota. I found these maps of various Canada/U.S. regions in a perfect array of turquoise and orange to complement the room.
The maps came from a place called Hunt and Gather. If you live in the Minneapolis area, this is the most terrific antique/"vintage stuff" store, and definitely worth the visit. Its quirky, always changing, and off the wall in all sorts of ways. I go there every couple of weeks and always find something that makes me smile.
After I figured out which maps would go on which letters, I got to work piecing it all together.
The letters I used are those simple, inexpensive cardboard ones you can find at any craft store. I also used my favorite product for gluing paper to paper:
And after the initial panic of the "do not use while pregnant" warnings splattered all over the back of the bottle (discovered after I'd completed a couple of letters), Google calmed me down and I realized that I probably hadn't used the product long enough or in a way that was harmful to the baby. This stuff is great--you apply it to the surface you're going to glue on--in my case, the face of the cardboard letter, as well as the back of the item you're gluing (the map). Let both surfaces dry, then carefully adhere them together and it creates a tight bond. The best part is, if you get glue on any surface you don't intend to, it rubs right off once it dries.
As a finishing touch, I added canvas around the edge of all the letters (also an unoriginal idea). I started by cutting strips of natural canvas slightly larger than I needed, then using Stitch Witchery and a hot iron to bond and finish the edges.
And here's the finished product:
I used craft glue to adhere the canvas to the letter, and the result is a nice clean edge. The color of the natural canvas also complements the tone of the vintage maps.
Well, there's a little sneak peek--I love how these are turning out. We are keeping the name a secret, and I've probably already given away too much by revealing two of the letters. Any guesses? :) Check back in about five weeks and we should have the name (and the baby!) ready to introduce to the world!
I thought it would be neat to create letters out of maps that show where both myself and Mr.CottageModern are from--me from Canada, and him from Minnesota. I found these maps of various Canada/U.S. regions in a perfect array of turquoise and orange to complement the room.
The maps came from a place called Hunt and Gather. If you live in the Minneapolis area, this is the most terrific antique/"vintage stuff" store, and definitely worth the visit. Its quirky, always changing, and off the wall in all sorts of ways. I go there every couple of weeks and always find something that makes me smile.
After I figured out which maps would go on which letters, I got to work piecing it all together.
The letters I used are those simple, inexpensive cardboard ones you can find at any craft store. I also used my favorite product for gluing paper to paper:
And after the initial panic of the "do not use while pregnant" warnings splattered all over the back of the bottle (discovered after I'd completed a couple of letters), Google calmed me down and I realized that I probably hadn't used the product long enough or in a way that was harmful to the baby. This stuff is great--you apply it to the surface you're going to glue on--in my case, the face of the cardboard letter, as well as the back of the item you're gluing (the map). Let both surfaces dry, then carefully adhere them together and it creates a tight bond. The best part is, if you get glue on any surface you don't intend to, it rubs right off once it dries.
As a finishing touch, I added canvas around the edge of all the letters (also an unoriginal idea). I started by cutting strips of natural canvas slightly larger than I needed, then using Stitch Witchery and a hot iron to bond and finish the edges.
And here's the finished product:
I used craft glue to adhere the canvas to the letter, and the result is a nice clean edge. The color of the natural canvas also complements the tone of the vintage maps.
Well, there's a little sneak peek--I love how these are turning out. We are keeping the name a secret, and I've probably already given away too much by revealing two of the letters. Any guesses? :) Check back in about five weeks and we should have the name (and the baby!) ready to introduce to the world!
Labels:
Children's Decor,
Nursery,
Things I've Made
8.25.2011
Baby CottageModern's Nursery Colors
As I've mentioned, there's a lot going on in my house in preparation for the "new little addition". I remember a few months back when I had a ton of energy and a ton of ideas--all of which I had every intention of implementing. I work well under pressure, and need deadlines to motivate me to action, so there's nothing like an impending birth to get me workin'. Unfortunately (this being my first and me being completely clueless), I "forgot" that carrying around a fully-inflated beach ball on my front (as well as additional poundage elsewhere...ugh) might slow me down a little bit. Needless to say, I'm still trying to accomplish a lot, and thankfully its starting to come together.
Months ago, as I was trying to come up with a less-conventional color combo for the baby's room, I decided that if it was a boy, I'd do turquoise and orange, and if it was a girl I'd go with turquoise and lavender. Secretly, I'd always preferred the turquoise and orange idea, and am excited to get to carry it out. A few of my A-list finds related to this color combo:
This bedding is ordered and should be arriving on my doorstep tomorrow! Excited to see how these pieces look in the room. I'm in love with pretty much everything Serena & Lily has to offer, and was so excited to find this color combo in their "Ben" nursery bedding collection.
The bedding is going on this crib, which I'm extremely pleased with now that its all assembled. It has a modern look, but was a fraction of the cost of all those beautiful clean-lined modern ones.
This was the fabric that got it all started for me, and although it isn't a perfect match to the bedding, I'm still trying to figure out a way to make it work in the room (this image looks much more seafoam green--in reality, its a nice turquoise/aqua). I love the color, the over-scaled geometric pattern, and the fact that it has some soft sophistication to it.
I fell in love with these floor pillows from aletafae on Etsy. They are made in a variety of graphic fabrics, and the designer who makes them has such a wonderful eye for color and fabric that its hard to decide which one to go with! I haven't officially placed my order yet, but plan to order the one pictured above. It will be a great foot rest during those late-night feedings, as well as a fun piece of furniture when the baby becomes more mobile.
Some other finds that will help accessorize the room:
Love the softer colors, and the fact that my hometown in Saskatchewan, Canada is visible in this U.S. map :)
(from top to bottom)
Benjamin Moore's Pool Blue (accent paint color);
Fireball Orange (accent color);
Restoration Hardware's Pale Silver (main wall color)
Months ago, as I was trying to come up with a less-conventional color combo for the baby's room, I decided that if it was a boy, I'd do turquoise and orange, and if it was a girl I'd go with turquoise and lavender. Secretly, I'd always preferred the turquoise and orange idea, and am excited to get to carry it out. A few of my A-list finds related to this color combo:
This bedding is ordered and should be arriving on my doorstep tomorrow! Excited to see how these pieces look in the room. I'm in love with pretty much everything Serena & Lily has to offer, and was so excited to find this color combo in their "Ben" nursery bedding collection.
The bedding is going on this crib, which I'm extremely pleased with now that its all assembled. It has a modern look, but was a fraction of the cost of all those beautiful clean-lined modern ones.
This was the fabric that got it all started for me, and although it isn't a perfect match to the bedding, I'm still trying to figure out a way to make it work in the room (this image looks much more seafoam green--in reality, its a nice turquoise/aqua). I love the color, the over-scaled geometric pattern, and the fact that it has some soft sophistication to it.
I fell in love with these floor pillows from aletafae on Etsy. They are made in a variety of graphic fabrics, and the designer who makes them has such a wonderful eye for color and fabric that its hard to decide which one to go with! I haven't officially placed my order yet, but plan to order the one pictured above. It will be a great foot rest during those late-night feedings, as well as a fun piece of furniture when the baby becomes more mobile.
Some other finds that will help accessorize the room:
Love the softer colors, and the fact that my hometown in Saskatchewan, Canada is visible in this U.S. map :)
I have a few whale items throughout the room, including the pillow from West Elm. I'm not really into "themes" as such, but there are some cute things out there, and hopefully I can tastefully integrate a few of them. The bookends are on my wish list, but at their current price tag, I'm sure they won't be making it into this nursery anytime soon. Will they, Mr.CottageModern? :)
Actual photos of the room coming soon!
Subscribe to:
Posts (Atom)